Are you ready to say goodbye to your acrylic nails but worried about damaging your natural nails underneath? Learning how to remove acrylic nails safely is crucial for maintaining healthy nail beds and avoiding painful damage that could take months to repair.
Acrylic nail removal might seem daunting, especially when you see how firmly these artificial extensions bond to your natural nails. However, with the right techniques, tools, and patience, you can successfully remove acrylic nails at home while preserving the health and integrity of your natural nail plates.
Whether your acrylics are lifting, overgrown, or you simply want a change, proper acrylic removal methods ensure your natural nails emerge healthy and ready for their next beautiful look. Let’s dive into the comprehensive guide that will transform you from nervous beginner to confident acrylic removal expert.
Understanding Acrylic Nail Structure and Composition
What Are Acrylic Nails Made Of?
Acrylic nail composition involves a chemical reaction between liquid monomer and polymer powder that creates a hard, durable plastic coating over natural nails. Acrylic chemistry produces a strong bond that cures through air exposure, creating the long-lasting extensions beloved by nail enthusiasts worldwide.
Nail enhancement structure includes the natural nail preparation, bonding agents, acrylic buildup, shaping, and finishing layers that create the complete artificial nail system. Chemical bonding occurs at the molecular level, explaining why acrylic nails require specific removal techniques.
Cured acrylic properties include exceptional hardness, water resistance, and chemical stability that make these enhancements durable but also challenging to remove without proper methods and materials.
Why Proper Removal Is Essential
Natural nail protection becomes paramount during acrylic removal, as improper techniques can cause severe damage including nail plate thinning, surface gouging, and cuticle trauma. Damage prevention strategies focus on dissolving chemical bonds rather than forcing physical separation.
Professional vs amateur removal results differ dramatically, with improper home attempts often causing damage that requires weeks or months of recovery time and professional intervention to correct.
Long-term nail health depends on gentle removal practices that preserve nail bed integrity and natural nail thickness for future enhancements or healthy natural nail growth.
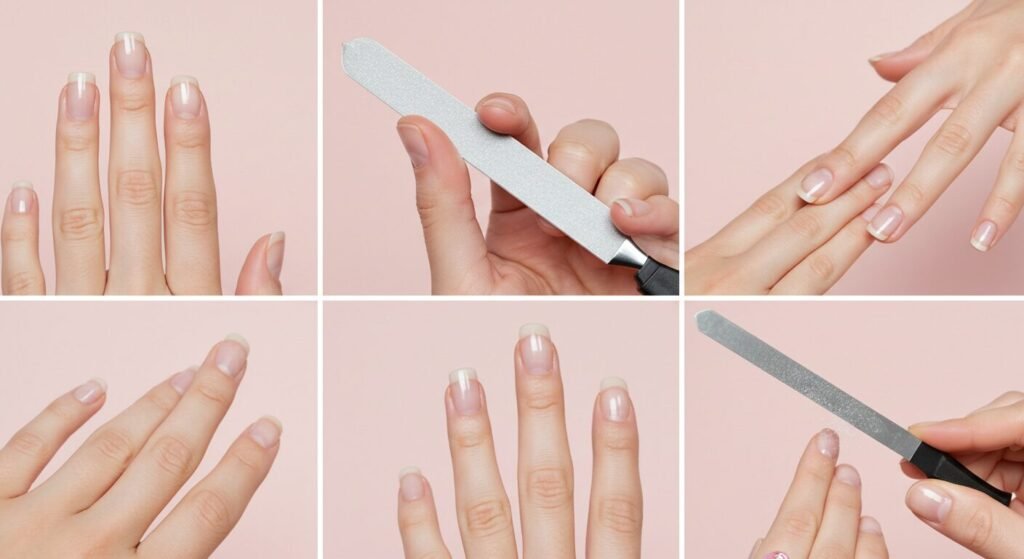
Essential Tools and Materials for Safe Removal
Primary Removal Supplies
Pure acetone serves as the primary solvent for dissolving acrylic nail bonds, with higher concentrations proving more effective than beauty supply acetones. Professional-grade acetone reduces removal time and minimizes exposure duration for surrounding skin tissues.
Aluminum foil creates the occlusive environment necessary for effective acetone penetration into acrylic layers. Cotton balls or pads hold acetone against nail surfaces while preventing rapid evaporation during the soaking process.
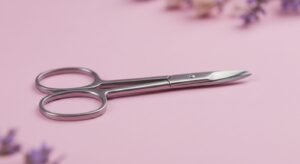
Coarse nail files help reduce acrylic thickness before soaking, making the dissolution process more efficient and reducing overall chemical exposure time required for complete removal.
Supporting Tools and Safety Equipment
Cuticle pushers assist in gently removing softened acrylic without damaging natural nail surfaces underneath. Orange wood sticks provide gentle alternatives to metal tools for delicate removal work around cuticles and nail edges.
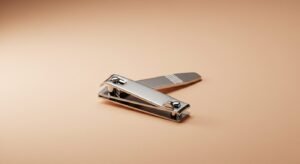
Nail clippers help reduce acrylic length before removal, making the process more manageable and reducing the amount of material requiring dissolution. Glass bowls resist acetone damage better than plastic containers for soaking methods.
Petroleum jelly protects surrounding skin from acetone drying effects, while cuticle oil helps restore moisture after the removal process is complete.
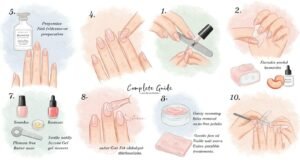
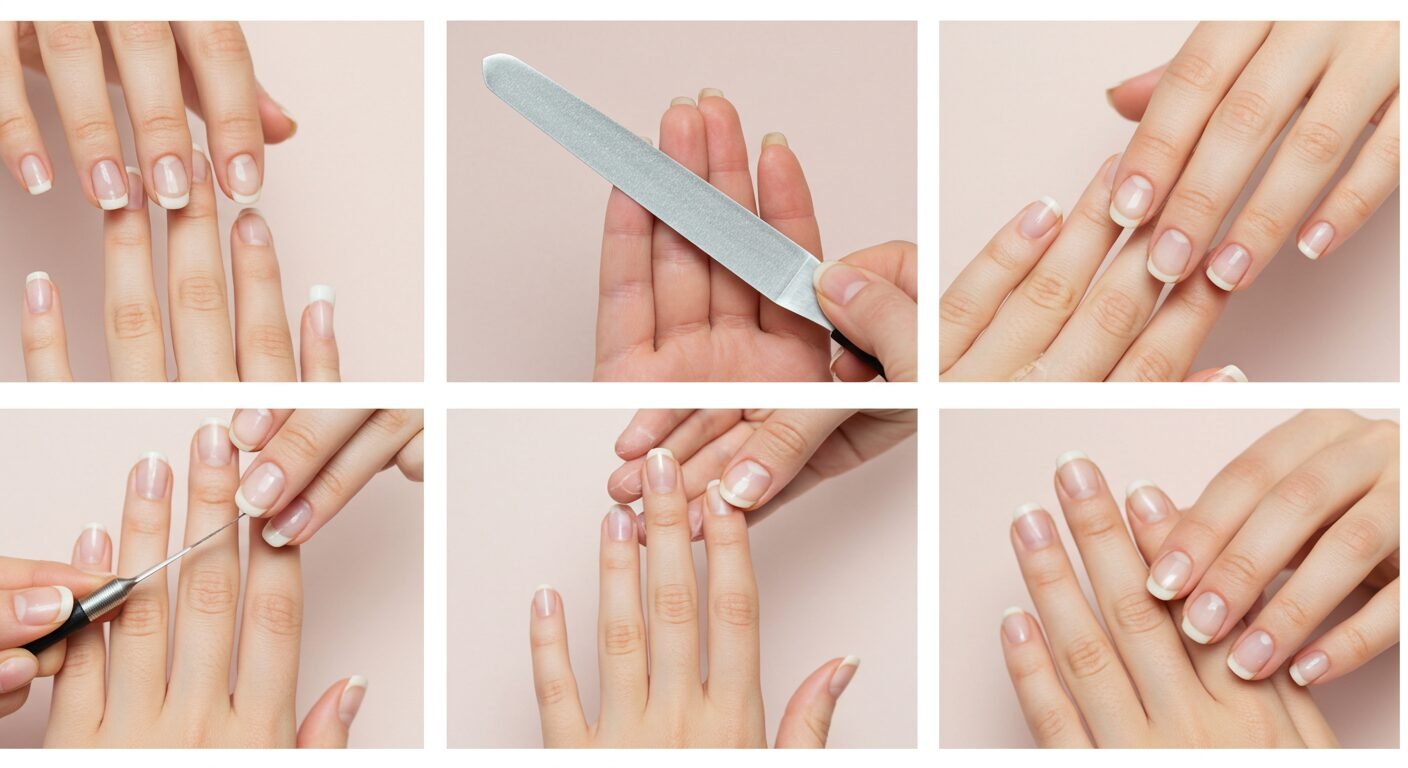
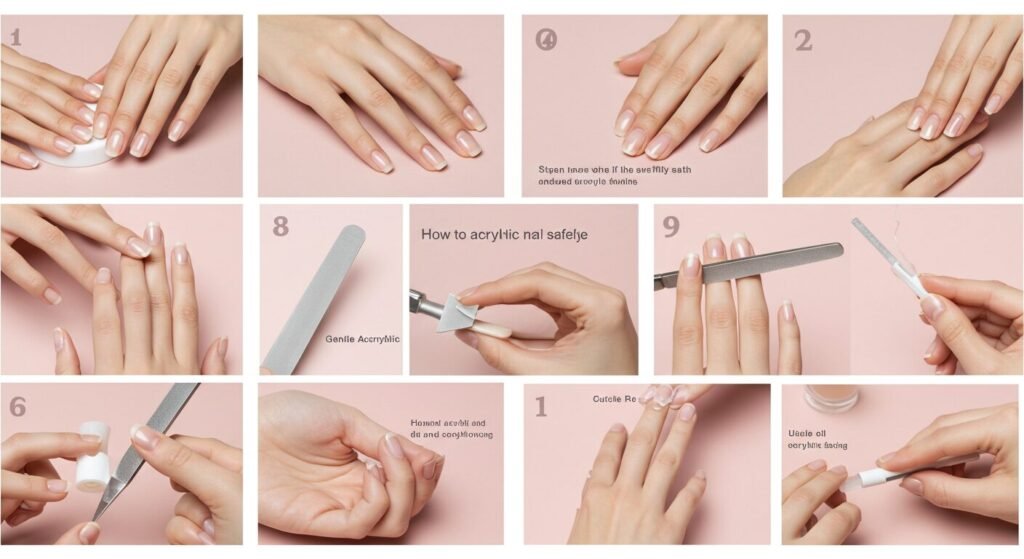
Step-by-Step Professional Removal Method
Preparation and Setup
Workspace preparation requires good ventilation, adequate lighting, and protection for surrounding surfaces from acetone spills or splashes. Safety setup includes removing jewelry and ensuring fire safety by eliminating ignition sources near acetone.
Hand cleaning removes oils and lotions that might interfere with acetone effectiveness, while nail trimming reduces the amount of acrylic requiring removal. Length reduction makes the process more manageable and comfortable.
Surface roughing with coarse files breaks through top coat and surface layers, allowing acetone to penetrate more effectively into the acrylic structure underneath.
Soaking and Softening Process
Acetone saturation involves thoroughly wetting cotton balls and applying them directly to each acrylic nail, ensuring complete coverage of the enhancement surface. Foil wrapping each fingertip creates the sealed environment necessary for effective chemical action.
Soaking duration typically ranges from 15-25 minutes depending on acrylic thickness and brand formulation used during application. Patience during processing prevents premature removal attempts that could damage natural nails.
Progress monitoring involves checking softening after 15 minutes and determining if additional soaking time is necessary for complete dissolution of the acrylic material.
Gentle Removal Technique
Softened acrylic removal requires gentle pressure with cuticle pushers to slide dissolved material away from natural nail surfaces. Gradual removal approach addresses stubborn areas with additional soaking rather than forceful scraping.
Natural nail protection remains the priority throughout removal, with any resistance indicating need for continued chemical softening rather than increased physical pressure.
Complete removal verification ensures no acrylic residue remains on natural nails that could interfere with future applications or cause lifting and bacterial growth.
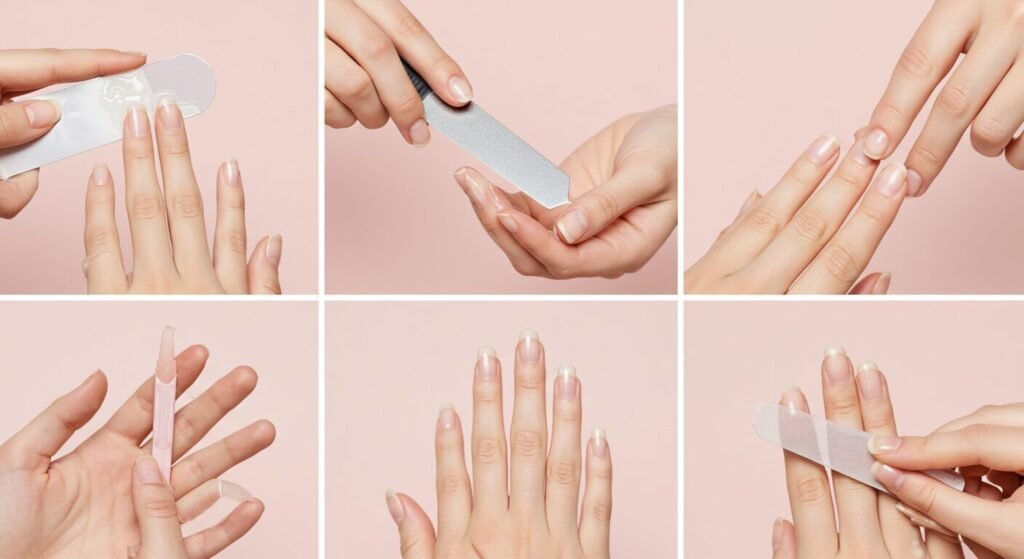
DIY Home Removal Techniques
The Foil Wrap Method
DIY foil technique provides salon-quality results when executed properly with attention to safety and timing. Home removal advantages include convenience and cost savings for those comfortable with chemical handling and patient technique execution.
Step-by-step foil process involves filing, cotton saturation, nail wrapping, and timed soaking followed by gentle removal of softened acrylic material. Safety precautions include ventilation, skin protection, and proper disposal of chemical-soaked materials.
Troubleshooting common issues helps address problems like incomplete softening, skin irritation, or stubborn acrylic areas that resist initial removal attempts.
Alternative Home Methods
Bowl soaking technique involves submerging fingertips in acetone-filled glass containers, though this method increases skin exposure and may cause more drying than foil wrapping.
Warm acetone methods can improve dissolution rates by slightly heating acetone, though temperature control is crucial to prevent burns or chemical reactions that could cause injury.
Gradual filing approach works for very thin acrylic applications but requires significant time and skill to avoid filing into natural nail plates during the removal process.
Common Mistakes and How to Avoid Them
Forceful Removal Errors
Pulling or prying at acrylic nails represents the most damaging mistake, often removing layers of natural nail along with artificial enhancements. Impatience with soaking leads to attempted removal before acrylics have properly softened.
Using inappropriate tools like knives, scissors, or teeth can cause severe damage to both artificial and natural nails. Skipping preparation steps makes removal more difficult and increases likelihood of damage.
Rushing the process due to time constraints often results in poor outcomes and potential injury that could have been prevented with proper planning and patience.
Chemical Handling Mistakes
Inadequate ventilation during acetone use can cause headaches, dizziness, or respiratory problems from chemical vapor inhalation. Skin contact prolonged exposure can lead to chemical burns or severe drying of surrounding tissues.
Using wrong acetone concentrations or substituting inappropriate solvents can be ineffective or potentially dangerous for nail removal purposes. Improper disposal of chemical-soaked materials poses environmental and safety risks.
Ignoring allergic reactions or skin sensitivity signs can lead to serious chemical burns or long-term skin damage requiring medical treatment.
Professional vs DIY Removal Comparison
Benefits of Professional Services
Salon removal expertise includes specialized training, professional-grade products, and experience handling various acrylic formulations and potential complications. Time efficiency in professional settings often achieves better results in less time.
Safety protocols in licensed facilities ensure proper ventilation, emergency procedures, and safe chemical handling practices that protect client health and safety.
Immediate follow-up services like nail conditioning, shaping, and reapplication are readily available in professional settings, providing comprehensive nail care in single appointments.
DIY Considerations and Limitations
Cost effectiveness represents the primary advantage of home removal, especially for individuals who frequently change acrylic styles or need removal between professional appointments.
Skill requirements for safe DIY removal include understanding chemical safety, proper technique execution, and ability to recognize when professional help is needed.
Risk assessment should consider individual comfort with chemical handling, nail condition, and complexity of acrylic application before attempting home removal procedures.
Nail Health and Damage Prevention
Protecting Natural Nails
Damage prevention strategies focus on gentle chemical dissolution rather than physical force that can tear or thin natural nail plates. Moisturization importance cannot be overstated for maintaining nail flexibility during and after removal.
Recovery protocols help natural nails regain strength and thickness after extended acrylic wear that may have caused some thinning or weakening over time.
Professional assessment of natural nail condition helps determine appropriate recovery time and treatments needed before reapplying artificial enhancements.
Recognizing Damage Signs
Nail thinning indicators include increased transparency, flexibility, or visible ridging compared to normal nail appearance and texture. Surface damage may appear as rough patches, gouges, or irregular areas requiring professional attention.
Pain or sensitivity during removal indicates potential damage requiring immediate technique modification or professional intervention to prevent further injury.
Infection signs like redness, swelling, or discharge around nail beds require immediate medical attention and cessation of removal attempts until properly treated.
Post-Removal Care and Recovery
Immediate Aftercare
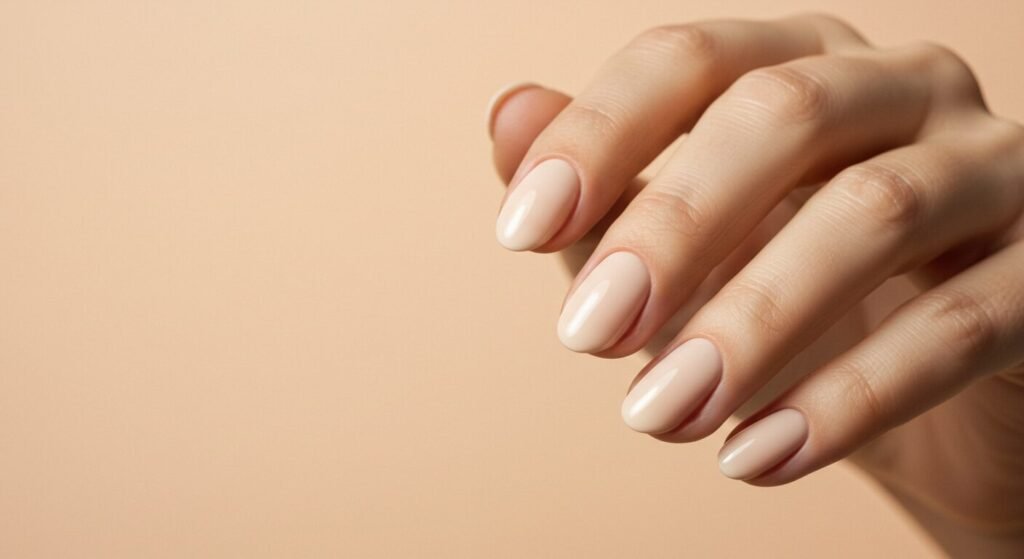
Nail hydration should begin immediately after removal using cuticle oils, nail strengtheners, or intensive moisturizing treatments designed for chemically processed nails. Gentle cleansing removes acetone residue and prepares nails for conditioning.
Cuticle restoration requires rich moisturizers to counteract acetone’s drying effects on delicate skin around nail beds. Surface smoothing with fine buffers addresses minor roughness without over-thinning recovered nails.
Protection measures include wearing gloves for household tasks and avoiding harsh chemicals that could further compromise recently treated natural nails.
Long-Term Recovery Planning
Strengthening treatments help rebuild nail structure and resilience after acrylic removal, with protein treatments providing building blocks for healthy nail growth.
Break periods between artificial applications allow complete recovery and prevent cumulative damage from repeated enhancement cycles. Professional monitoring helps track recovery progress and determine readiness for future applications.
Nutritional support through proper diet or targeted supplements may enhance nail recovery, though topical treatments typically provide more immediate and noticeable benefits.
Dealing with Stubborn or Damaged Acrylics
Addressing Difficult Removals
Extended soaking protocols may be necessary for particularly thick or stubborn acrylic applications that resist standard removal timeframes. Multiple session approaches reduce chemical exposure while ensuring complete removal.
Professional intervention becomes necessary when DIY methods prove insufficient or when removal attempts result in damage requiring expert assessment and treatment.
Specialized removal products designed for difficult acrylic removal may provide enhanced effectiveness for stubborn applications that resist standard acetone treatment.
Handling Lifted or Damaged Acrylics
Lifted acrylic removal requires extra care to prevent tearing natural nails that may be adhered to loose enhancement edges. Water damage considerations affect removal techniques when acrylics have been compromised by moisture exposure.
Broken acrylic repairs during removal prevent further damage while working toward complete enhancement removal. Emergency removal techniques address urgent situations requiring immediate acrylic removal for safety or medical reasons.
Infection prevention becomes crucial when working around damaged or lifted acrylics that may harbor bacteria or fungi in compromised areas.
Special Considerations for Different Nail Types
Thin or Damaged Natural Nails
Gentle protocols for compromised nails may require modified techniques, extended soaking times, or professional supervision to prevent additional damage during removal.
Enhanced protection measures include more frequent moisture application and careful monitoring for signs of further damage or adverse reactions to removal chemicals.
Recovery priorities focus on nail health restoration over immediate reapplication of artificial enhancements that could worsen existing damage or delay healing processes.
Thick or Strong Natural Nails
Standard removal techniques typically work well for healthy nails with good thickness and structural integrity, allowing for normal processing times and methods.
Efficient removal can often be achieved without extended precautions or modified techniques required for more delicate nail conditions.
Immediate reapplication may be possible with healthy nails showing no signs of damage or stress from acrylic wear or removal procedures.
Cost Analysis and Budget Considerations
Professional Removal Costs
Salon pricing for acrylic removal typically ranges from $15-35 depending on location, salon reputation, and complexity of removal required for specific applications.
Value assessment should consider time savings, reduced damage risk, and immediate follow-up services available in professional settings compared to DIY alternatives.
Package deals combining removal with new applications or other services may provide better overall value for clients planning immediate reapplication or comprehensive nail care.
DIY Cost Breakdown
Initial supply investment for quality removal tools and materials ranges from $25-50 but provides multiple removal sessions for regular acrylic users.
Ongoing costs include acetone replacement, cotton supplies, and occasional tool replacement that should be factored into long-term budgeting considerations.
Hidden costs may include nail damage repair, professional intervention for botched DIY attempts, or extended recovery treatments that could exceed professional removal costs.
Environmental and Safety Considerations
Chemical Safety Protocols
Ventilation requirements for safe acetone use include open windows, exhaust fans, or outdoor work areas to prevent dangerous vapor accumulation in enclosed spaces.
Fire safety measures require removing all ignition sources including candles, cigarettes, and electrical equipment that could ignite acetone vapors during removal procedures.
Personal protective equipment includes gloves for skin protection and ensuring adequate air circulation to prevent respiratory irritation from chemical exposure.
Proper Disposal Methods
Hazardous waste handling for acetone-soaked materials requires following local disposal regulations rather than standard household trash disposal methods.
Environmental responsibility includes minimizing acetone use and disposing of chemicals appropriately to reduce environmental impact of nail enhancement practices.
Container safety involves proper storage and disposal of acetone containers according to manufacturer guidelines and local hazardous waste regulations.
Timing and Frequency Guidelines
Optimal Removal Timing
Acrylic lifespan typically ranges from 6-8 weeks before removal becomes necessary due to growth, lifting, or wear that compromises nail health or appearance.
Early removal indicators include lifting, cracking, or damage that could lead to natural nail problems if left untreated for extended periods.
Professional recommendations help establish appropriate timing based on individual nail growth rates, lifestyle factors, and acrylic condition over time.
Recovery Periods
Natural nail rest between acrylic applications helps prevent cumulative damage and maintains long-term nail health through regular recovery cycles.
Individual assessment determines appropriate break duration based on natural nail condition, previous damage, and overall nail health status.
Gradual reintroduction of artificial enhancements after recovery periods helps ensure nails can tolerate resumed applications without immediate problems or complications.
Advanced Removal Techniques
Professional Methods and Tools
Electric file systems used in professional settings can reduce acrylic thickness more efficiently than hand filing, though they require extensive training for safe operation.
Specialized chemical systems designed for professional use may offer advantages over standard acetone for specific acrylic formulations or difficult removal cases.
Heat-assisted removal using professional equipment provides controlled temperature environments that can improve chemical effectiveness while maintaining safety standards.
Innovative Home Techniques
Steam assistance methods use warm water vapor to help open nail plates for better acetone penetration, though chemical action remains the primary removal mechanism.
Combination approaches might integrate multiple techniques for optimal results while maintaining safety and effectiveness throughout the removal process.
Technology integration includes timing apps, temperature monitoring, and other tools that help optimize home removal procedures for better results and increased safety.
Preventing Future Removal Problems
Proper Application Practices
Quality application reduces removal difficulty by ensuring proper adhesion without over-bonding that makes future removal unnecessarily challenging or damaging.
Regular maintenance schedules help prevent lifting and damage that can complicate removal procedures and increase risk of natural nail damage.
Professional consultation during application helps establish realistic expectations and proper care instructions that support easier removal when the time comes.
Lifestyle Considerations
Activity modifications while wearing acrylics can prevent damage that complicates removal and helps maintain enhancement integrity throughout the wear period.
Care routines that support acrylic health also contribute to easier removal by preventing damage, lifting, or bacterial growth that can complicate the removal process.
Planning ahead for removal timing helps ensure adequate time and proper conditions for safe removal procedures without rushing or compromising safety protocols.
Troubleshooting Common Problems
Incomplete Removal Issues
Residual acrylic handling requires patience and additional soaking rather than aggressive scraping that could damage natural nails underneath stubborn spots.
Spot treatment methods address small remaining areas with targeted acetone application rather than full nail re-soaking that increases chemical exposure unnecessarily.
Professional consultation may be necessary for persistent acrylic remnants that resist multiple home removal attempts despite proper technique execution.
Adverse Reactions
Skin irritation management includes immediate acetone removal, thorough cleansing, and moisturizing treatments to counteract chemical effects on sensitive skin.
Allergic reaction recognition helps identify symptoms requiring immediate attention and potential medical intervention for severe reactions to removal chemicals.
Alternative approaches may be necessary for individuals who cannot tolerate standard acetone removal methods due to sensitivity or allergic reactions.
Nail Art and Complex Design Removal
Embedded Decorations
3D element removal requires extra care when dealing with rhinestones, studs, or sculpted components that may be firmly embedded in acrylic layers.
Layered design challenges involve multiple acrylic applications that may require extended soaking times or modified techniques for complete removal.
Delicate handling preserves natural nails while addressing complex artistic elements that resist standard removal methods or require specialized approaches.
Specialty Acrylic Types
Color-embedded acrylics may require different removal approaches depending on pigment types and integration methods used during original application.
Textured finish removal involves specialized products or techniques that may resist standard acetone treatment and require professional assessment or intervention.
Mixed media designs combining acrylics with other enhancement materials may need customized removal approaches addressing each component appropriately.
Long-Term Nail Health Strategies
Cycle Management
Enhancement rotation between different artificial nail types helps prevent cumulative damage from repeated exposure to single enhancement systems or removal chemicals.
Natural nail strengthening during break periods helps build resilience for future enhancement applications while maintaining overall nail health.
Professional partnerships with qualified nail technicians support long-term nail health through expert assessment and appropriate treatment recommendations.
Preventive Care
Daily nail care routines support both natural and artificial nail health while making removal procedures easier and less damaging when necessary.
Nutritional support through proper diet and targeted supplements may enhance nail strength and recovery capabilities over time.
Regular monitoring of nail health helps identify problems early before they become serious issues requiring extensive treatment or recovery periods.
Conclusion
Learning how to remove acrylic nails safely is an invaluable skill that protects your natural nail health while allowing you to enjoy the benefits of artificial enhancements. With proper technique, quality materials, and patient execution, you can achieve professional-quality removal results at home.
The key to successful acrylic removal lies in understanding the chemistry involved, respecting the process timing, and prioritizing nail health over speed or convenience. Whether you choose professional services or develop DIY expertise, the investment in proper removal techniques ensures your natural nails remain healthy and strong.
Remember that your natural nails are irreplaceable, and any damage from improper removal techniques can take months to fully repair. Taking time to remove acrylics properly is always worth the investment in your nail’s long-term health and beauty.
As acrylic technology and removal methods continue advancing, staying informed about best practices and new techniques helps ensure you always have access to the safest and most effective removal methods available.
Your nails deserve the same care and attention during removal as they receive during application. With the knowledge and techniques outlined in this guide, you’re equipped to maintain beautiful, healthy nails throughout every acrylic cycle and beyond.
Frequently Asked Questions
How long does it take to remove acrylic nails with acetone?
Acrylic nail removal typically takes 20-30 minutes using the acetone foil wrap method, including preparation and actual removal time. Thick acrylics or multiple layers may require up to 45 minutes total. The soaking phase alone usually takes 15-25 minutes, followed by gentle removal of softened material. Never rush the process, as insufficient soaking time leads to forceful removal that can damage natural nails underneath the acrylics.
Can I remove acrylic nails without acetone?
While acetone is the most effective and safest method for acrylic removal, alternatives include professional acrylic removal products, gradual filing (very time-consuming and risky), or soaking in warm water mixed with dish soap (largely ineffective for fully cured acrylics). Dental floss can sometimes work on lifted edges, but this risks severe nail damage. For complete, safe removal, acetone or professional services remain the best options.
Will removing acrylic nails damage my natural nails?
Proper acrylic removal using correct techniques and quality acetone should not damage natural nails significantly. However, improper removal through pulling, prying, or insufficient soaking can cause severe damage including thinning, surface gouging, and nail bed trauma. Some minor temporary effects like dryness or slight thinning are normal after long-term acrylic wear, but these typically resolve with proper aftercare and recovery time.
How much does professional acrylic nail removal cost?
Professional acrylic removal typically costs $15-35 depending on your location, salon reputation, and removal complexity. Some salons offer discounts when combined with new acrylic application services. High-end salons may charge more but often include conditioning treatments and aftercare services. While more expensive than DIY removal, professional services reduce damage risk and provide immediate follow-up care that may justify the additional cost.
How long should I wait before getting new acrylics after removal?
Wait at least 1-2 weeks between acrylic removal and reapplication to allow natural nails to recover, though 3-4 weeks is ideal for optimal nail health. If you notice thinning, damage, or sensitivity after removal, extend the break until nails fully recover. Some people can reapply immediately if natural nails show no damage and proper removal techniques were used. Professional assessment helps determine appropriate timing based on your specific nail condition.
READ ALSO: How to Remove Gel Nail Polish: 2025 Complete Guide to Safe and Effective Removal
Was this helpful?
Your feedback helps us create better content
Thank you for your feedback!
Your input helps us improve our content.